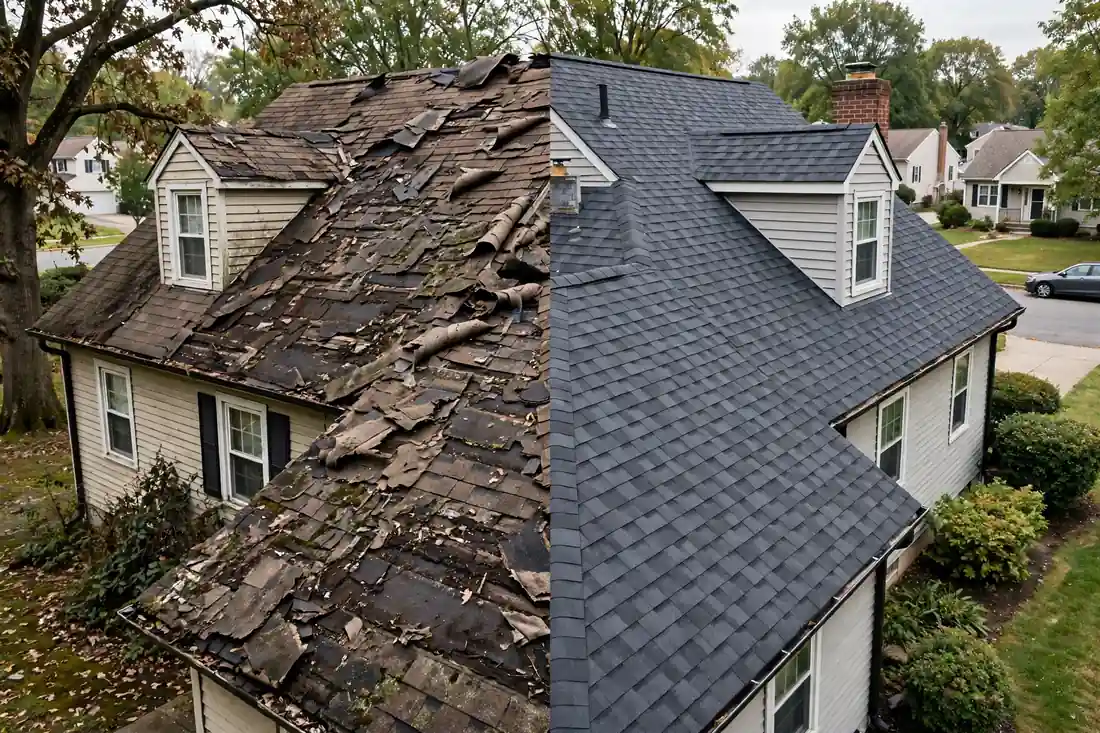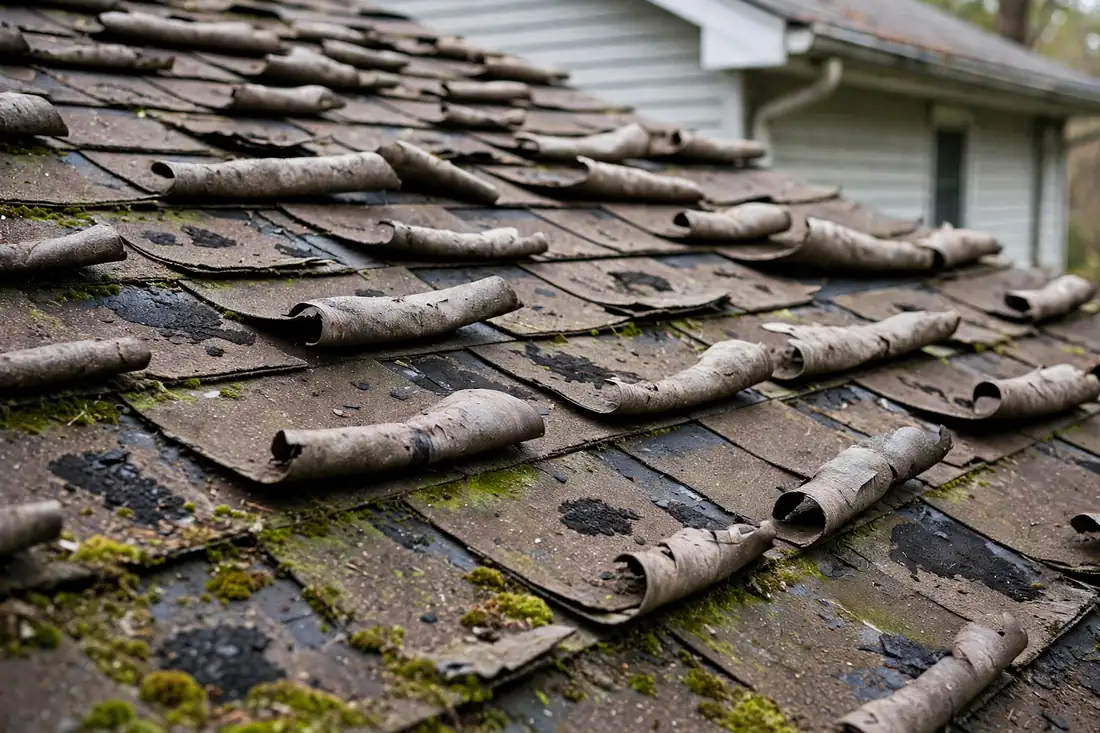
Few household moments spike the heart rate like water coming through a ceiling. The good news: a roof leak, handled in the right order, is a manageable problem — and the first hour is almost entirely about the inside of your house, not the roof. This guide walks the order that roofing professionals themselves follow: protect people and belongings, contain the water, relieve the ceiling, document everything, and then get the diagnosis that fixes the cause rather than the stain.
One boundary before anything else: your job in a leak is inside the house. The roof in the rain is the crew's job, in the crew's timing. Everything below keeps you on the right side of that line.
Step 1: Protect what the water can reach
Move furniture, rugs, and electronics out of the drip's path — including the splash radius, which is wider than the drip. If something cannot move, cover it with plastic sheeting or a tarp, not towels, which wick water through. If water is reaching outlets, light fixtures, or anything electrical, keep hands off those fixtures and mention it first when you call: it changes the urgency and the advice you will get.
Step 2: Contain the water
Place a bucket or basin under the drip, with a small towel or sponge in the bottom to kill the splashing and the noise. For a drip that wanders, a sheet of plastic sloping into the bucket works as a funnel. Empty containers before they are full — an overflowing bucket doubles the damage it was preventing — and rotate towels at the edges of the wet zone to stop the spread across floors.
Step 3: Relieve a bulging ceiling
A ceiling that bulges is holding a pool of water above the paint, and it will find its own exit — through a seam, a fixture, or a collapse that spreads the damage across the whole room. The controlled answer is a small hole at the lowest point of the bulge, made with a screwdriver into a bucket placed below, letting the water drain where you choose. It feels destructive; it is the opposite. One neat hole is a five-minute patch later; a collapsed ceiling is a renovation.
Step 4: Document before anything changes
Photograph the stain, the bulge, the drip, and any damage to belongings, with timestamps on. Photograph the roof and the yard from the ground if weather allows — shingles down, a limb in view. This record takes four minutes and protects every later conversation: with the roofer about where the water traveled, and with an insurer if you choose to file. Documentation made during the event is worth ten times the same effort a week later.
Step 5: Make the call — and describe the leak like a diagnostician
When you call, the details that place your leak correctly are: where the stain or drip is (which room, which wall or ceiling position), when it happens (every rain, hard rain only, wind from a direction, thaw), and when it started. Those three facts are the roofer's first evidence. New Jersey Roofing Help's line is staffed Mon–Fri 7 AM–10 PM, Sat 8 AM–10 PM, Sun 7 AM–9 PM Eastern — call, describe, and you will be connected with a local roofing professional.
While you wait: the attic, if it is safe and simple
If your attic is safely accessible — a real floor or sturdy boards, a light, no heroics — a look with a flashlight can shorten the diagnosis: note any wet decking, dripping points, or daylight. Do not walk on joists-and-insulation attics in a stressful moment, and never enter an attic where water is near wiring. This step is optional gravy; the first four are the meal.
What the roofer will do — so you know what good looks like
A professional leak visit starts with evidence, not materials: the attic trail read from below, the roof's suspect details examined above it — boots, flashing, valleys, seams — and the entry point identified before any repair is proposed. The repair then happens at the source layer. If a roofer proposes patching directly above your stain without that hunt, you have learned something important about the roofer.